Introduction
Influence is a game of long-term goals and planning. Many of the decisions you make early on will impact your future actions. Think carefully about how you’d like to play and recruit your crews accordingly! This guide will assume that players have read other guides around the mechanics of minting crew, constructing buildings, and moving resources.
All of your game actions in Influence will be performed by a crew made up of 1-5 crew members. It is recommended that you fill each crew to take advantage of bonus traits.
Crews can be made of ARVAD Specialists, ARVAD Citizens, or Native Adalians. This guide will focus on creating crews made of native Adalians who receive a single impactful trait. Specialists and Citizens will receive 3 or 2 impactful traits (respectively) and can either diversify a crew member’s abilities or stack bonuses in a single trait area. Traits are shared by a crew and combine to provide bonuses for all applicable crew actions. Note that job classes provide bonuses as well - trying to fly a ship without a pilot for example results in large penalties to efficiency and range.
The traits described in this guide are:
Miner:
Prospector - gain a 5% core sample quality
Surveyor - increase core sampling speed by 10%
Engineer:
Refiner - increase materials refining speed by 10%
Builder - 5% faster building construction speed
Merchant:
Mogul - reduce market fees (if any) by 1.75%
Logistician - increase surface transport speed by 5%
Hauler - carry 5% more items in your inventory
Scientist:
Dietician - reduce food consumption by 5%
Pilot:
Navigator - 5% higher velocity (better fuel/thrust ratio)
Buster - 5% higher propellant flow rate (faster acceleration)
Each class will offer additional trait options, but the ones listed above are the most appropriate for starting crews. ARVAD Citizens and Specialists will be able to select from a wider range of traits, but should focus on foundational class skills first. No matter which crew configuration you begin with, your first steps should be the same.
Start by planning your first crew. Reference the asteroid’s resource map and determine where you’d like to establish your production and warehousing center. Select an existing public habitat (preferably one that’s less than half full) closest to your chosen resource field (if mining) or in an area below 70% resource yield for any one material (if working as an industrialist or market speculator) and mint your first crew member.
Lots with resource abundances above 70% should be reserved for extractors to best balance operating costs with output opportunities. this is more of a suggestion instead of a guideline, and should be broken when building local habitats, markets, and warehouse clusters that support large-scale mining operations.
You have three primary options at this stage of Exploitation (Phase 01 of Influence). They are:
Resource extraction (smallest startup costs with a slow buildup to profit):
Miners do the extraction work here. Engineers provide operations or transit efficiencies. Scientists provide food consumption reduction bonuses that can add up over time for extraction sites far from food markets. This team will focus on extracting resources long-term and transporting them to warehouses. Traits should focus on Prospector core sample bonuses or Dietician food reduction bonuses. The Surveyor trait is not recommended here as Prospector sample quality bonuses provide a greater value over time compared with speeding up a single sample. Higher quality samples may not need to be improved, saving hours of crew time.
Recommended crew configurations:
5 Miners (maximum primary resource extraction)
4 Miners + 1 Scientist (high primary resource extraction + a food cost reduction)
Industrial refining and/or production (high initial costs but with faster profits):
An Engineer heavy team with a variety of traits. Scientists improve secondary outputs and are the primary driver of Bioreactor processing. This team will spend time hauling materials between warehouses and refineries/factories/bioreactors, so traits should focus on outputs for your chosen building path.
Refinery heavy players will recruit crews with the Engineering Refiner bonus first, followed by Merchant’s Logistician transit bonuses if you are setting up far away from markets or habitats.
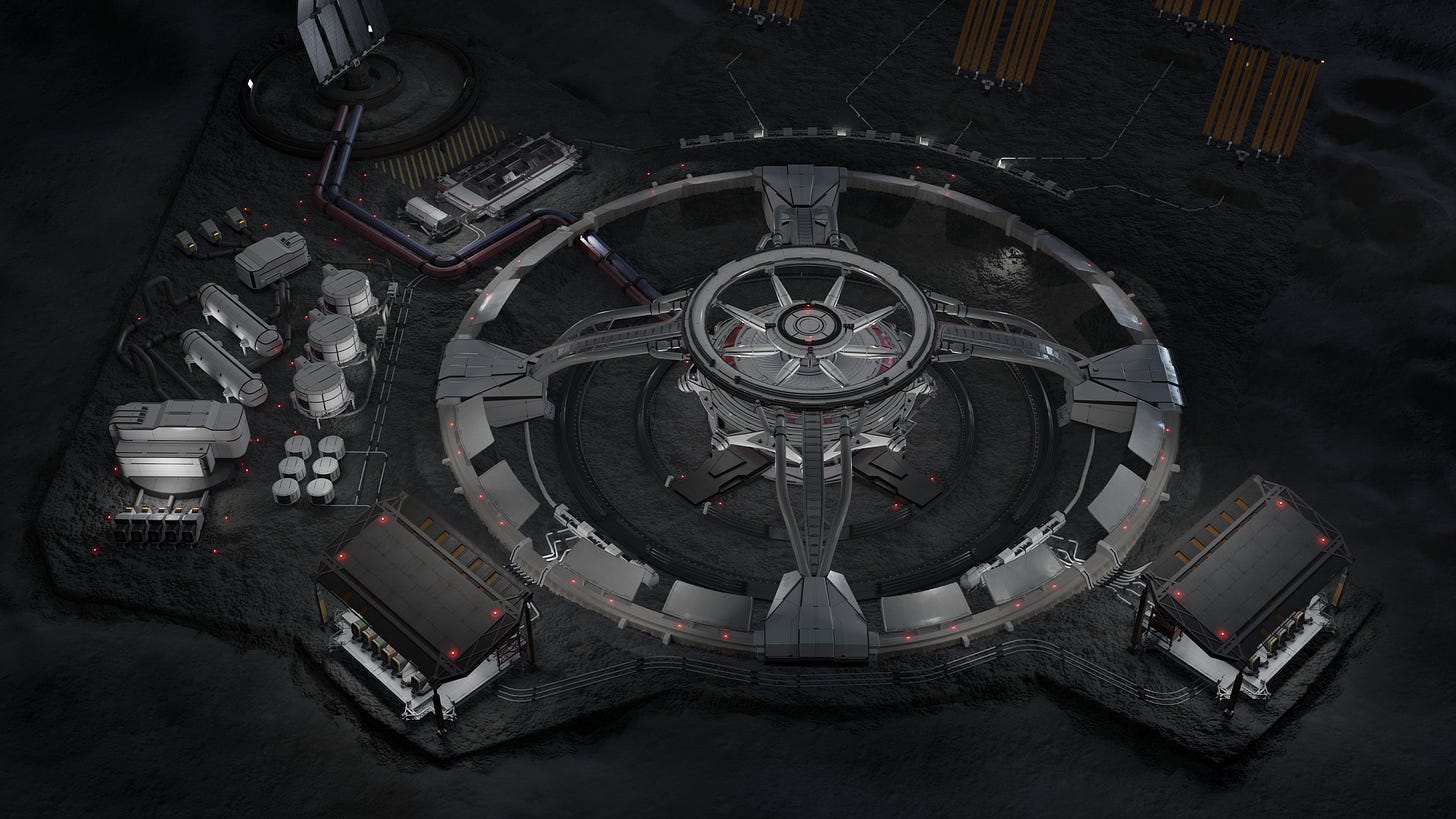
Factory crew members should focus on the Engineering Builder trait and the Scientist’s Dietician trait.
Bioreactor teams should prioritize Scientist Dietician traits.
Recommended crew configurations:
5 Engineers (subject to diminishing returns but still a strong specialized team)
4 Engineers + 1 Merchant (a merchant provides transit bonuses and can get better pricing for materials at markets through the Mogul trait, until you have a dedicated merchant crew - at this point you’d mint a new engineer and move your merchant to the new specialized crew)
4 Engineers + 1 Scientist (high production capacity + higher volume of secondary outputs and food reduction bonuses - most effective in refineries, less so in bioreactors or factories)
4 Scientists + 1 Engineer (a bioreactor specific crew - focus on Dietician traits with either Builder or Refiner for the Engineer)
3 Engineers + 2 Scientists (a well-rounded crew for multi-stream industry, mixing refineries, factories, and bioreactors)
Market speculation and local trading (high initial cost - high risk):
A ground-based trade-heavy configuration focusing on Merchants. Traits should focus on the Mogul trait to get better pricing at markets and the Logistician trait to improve transit speeds.
Recommended crew configurations:
5 Merchants (balanced between Mogul and Logistician traits)
4 Merchants + 1 Pilot (just in case this crew ends up flying on trade missions)
Notes:
These crews are tailored towards post-construction processes, sacrificing construction speed for production and per-operation earning capacity. In time it may be worth minting a pure Engineer Crew focusing on the Builder trait to build your structures and then opening the permissions to your production crews. You can also create specialized crews for surface materials transport, market sales, core sampling, or pilots for transports. Remember that these crews will need food and a place to live, so make sure you are earning enough SWAY to cover the costs of additional recruits.
Pilot focused crews transporting materials around the Belt are viable options for early play, though ships are expensive to purchase and profits will be slim until markets and resource extraction is established on multiple asteroids within reach of your “home” asteroid. Traits should prioritize Pilot Navigator until later phases of Influence are released and Buster and Operator traits can begin to shine. Choose your traits depending on your long-term vision for your pilot crews though sticking with Navigator will remain a strong shipping and hauling option.
Scientist focused crews are not yet recommended for anything other than Bioreactor production, though they will become viable once the next phase of Influence (Discovery) launches.

